About the atmosphere of the evening.
Talking about how to do photography in the environment near us, then you can go to your fields and do evening photography. The pictures you are seeing here are taken out of the field. But this picture was taken out from the top of the house in the field. So that it is easy for us to take out some photos. You can see that the settings of the camera have been given at the bottom of every photo so that you can read it well and do such photography easily.
The settings of each photo are slightly different and slightly similar. Because of which you can easily understand it. But we have taken all these photos from the same camera. In the paragraph above each photo, a few things have been told about the photos, which you can read by going to the bottom of the photos to read.
How to take pictures of clouds in evening time.
If we talk about photography, then first of all we should look at the environment of it and take the society that what settings of the camera have to be used for this. Now, if we talk about photography, we should know a little bit about photography because this photography is what we have to do for the cloud which is the sky. Where clouds and few trees also come, then your photography becomes a little better. Like the photos you are seeing below have been extracted in this way and the photos have been told below the photo and its settings are given below it.

The photos you are seeing above, the sky you are seeing in that photo are photos without editing. All the photos given here are without edit. And to remove such photos, you should know the camera settings which are given below. The tree which is half visible is removed in such a way. The cloud during the evening becomes clear. Because of which there is a photo of the sky, it is good.

Talking about other photos, this photo is a little different from the photos above and its settings are also different which you can see. The tree you are seeing in this photo and the above photo is there, but we have removed such photos to get another tree halfway. in order to preserve its beauty. And there are some dark clouds in it, which is why this photo looks a little different.
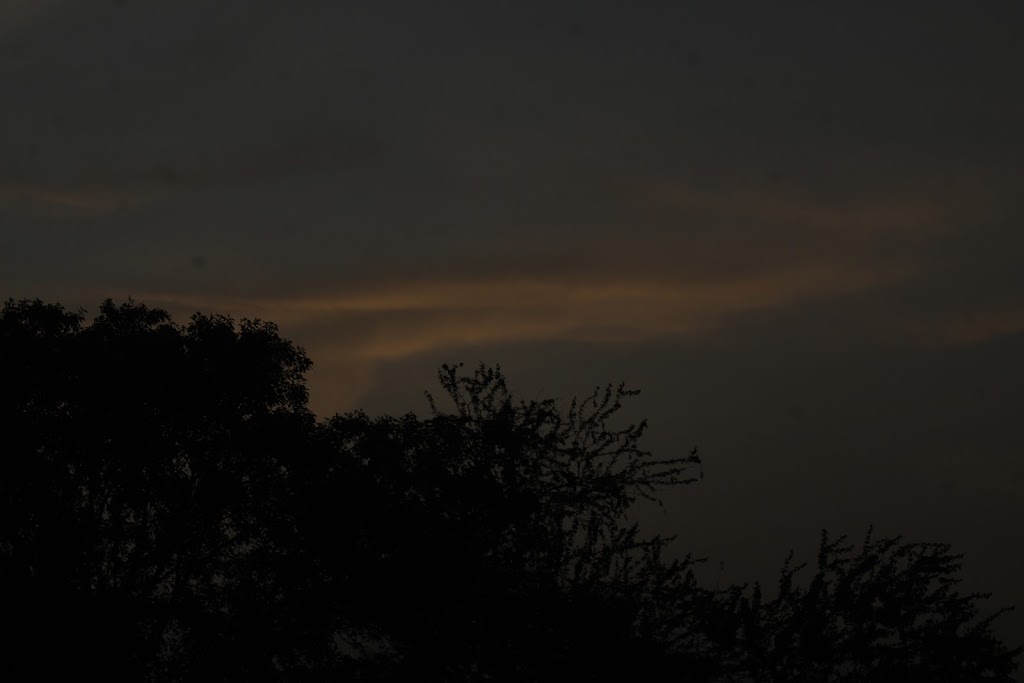
The last photo that we have darkened a bit. And to darken it, we have changed its ISO only. Other things have changed. But that’s normal. In this photo, we have seen half the bushes and half the clouds, such photos have been taken out. The settings of these three photos are different, so we had to show the settings of these three separately.
Now let’s talk about all the photos given above.
The photos you are seeing here, the camera is the same in all the photos, but its settings are different in every photo. Here all the photos have been extracted in the manual program. Whatever change you are seeing in these photos, these photos are looking different only by changing the ISO and shutter speed. You must have read the rest of the things above. When going for Photography, remember these settings very well so that you will be useful in photography and in taking good photos.


No comments:
Post a Comment