Sunday, October 30, 2022

Ardusi leaf photography and a little information about it.

A little about Ardusi leaves. 

Everyone knows the leaves that are there and the use of it is known to everyone, but we have a few things that I want to tell you. For those who do not know, these things will be of more use. Here I have been told about Ardusi below and we have talked about the photos about the photography of the photos which are ahead of him, those who want to know about photography, they can read below.

  • Most of all, these leaves are used in the medicine of cold and cough. In Ayurveda, the best medicine for cold is the leaves of Ardusi. The rush that comes out of these leaves is bitter, due to which we get quick relief in winter.

  • The use of Ardusi is also more useful in the disease which is known as tuberculosis i.e. TB. If you powder its flowers and drink it with 1 glass of milk for 6 months, then you will get relief from this disease. These leaves can remove any kind of cough, but you have to use it regularly.
  • If you have thick phlegm, then drinking these leaves by boiling them in tea will cure your phlegm very quickly.

Camera maker : Canon 
Camera model : canon EOS 1300D 
Lens : 18 – 55 mm
Type of file : CR2 File 
Size : 21.3 MB
Shutter Speed : 1 / 100 Sec.
Aperture : F / 6.3 
ISO : 100
Flash mode : No Flash
Focal length : 47 mm
Exposure program : Normal

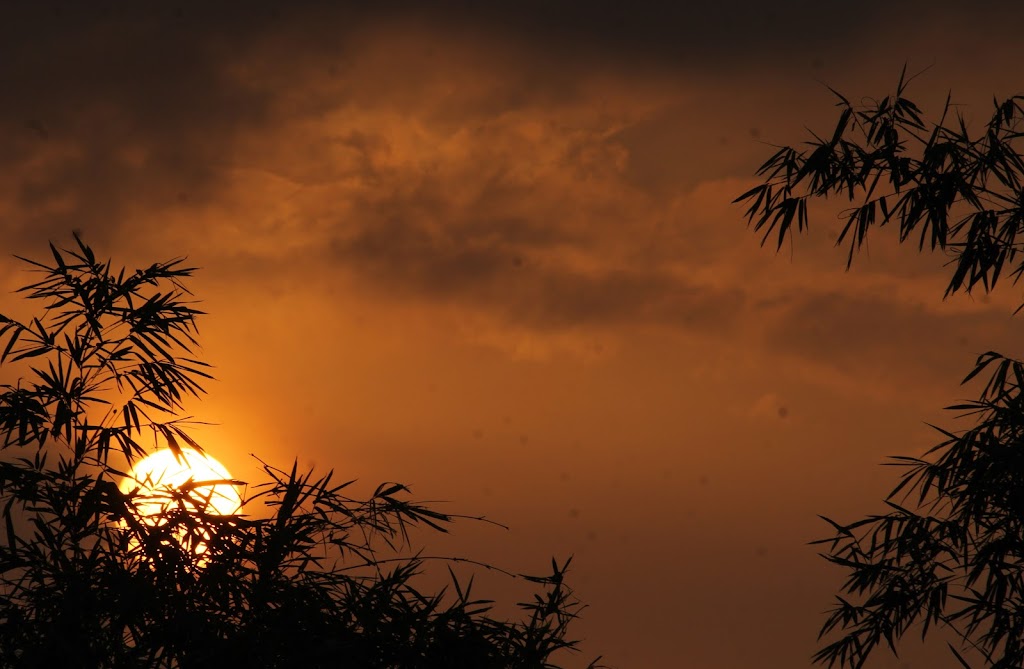
The pictures you are seeing here, we have clicked in normal mode. We mostly use this twist to learn photography.

This photography is of a tree leaf only. Which we know by the name of Ardusi. When you think of doing such photography, then you will feel like doing such photography. For this type of photography, you can gather information about photography in this way by reading the things mentioned below. If you want more information, you can also read our previous post.

For such photography, first of all you should find such a leaf that if you focus on it, then the part behind it should be blurred. As you see in the first photos. We have clicked this photo from the top side of this leaf. We have clicked these photos in auto mode but the file format is different. We call it ROW file format. As you can see in it, the part behind it is blurred. When taking photos, you need photography keeping the back part in mind.

Camera maker : Canon 
Camera modal : Canon EOS 1300D
Lens : 18 – 55 mm
Type of file : CR2 File
Size : 21.4 MB
Shutter speed : 1 / 100 
Aperture : F / 5.6
ISO : 100 
Flash mode : No flash
Focal length : 41 mm
Exposure program : Normal

The other photos you are seeing here, we plucked the leaf from the tree and got it held in one hand by another boy, then we took out its photos. Because of which these photos look like this. If you want to see more photos like this, then you can see the rest of our posts.

Wednesday, October 12, 2022

Sunset Photography Manual Program Mode Canon

Know the details of the manual program so that you can know about photography and this program.

Today we are going to talk about evening photography here.

If we talk about Sunset, then a lot of posts have been made on this website itself. Which you can read, many people must have read our post. Today we are going to talk about evening photography only, but we will talk a little bit about the manual program in the camera. With which you will also enjoy doing photography.

This first photo that you see is so beautiful that no one can say that this photo is not good. This photo has been taken out in the evening time and this photo is without editing due to which it looks so beautiful. If you do not want to remove such photos, then all the settings of the camera are given under this photo, which you can read and click such photos. And about the manual program mode, both the photos below have talked about this program mode, which you do not forget to read because only after reading this you can do such photography.

Talking about this photo, we have blurred the sun that we are seeing in it so that we have clicked the photo by focusing on the tree at that place from where this photo was taken. When you take such photos, then you should do photography according to the environment of it so that your photos also look good and you will also enjoy photography. In the two photos given below, we have shown the sun as a complete one so that in those photos you can know how this sun appears at sunset. To know about those two photos, read below those photos.

Camera maker : Canon
Camera model : Canon EOS 1300D
Lens : 55 – 250mm 
Shutter speed : 1/160 Sec.
Aperture : F/5.6 
ISO : 100
Focal length : 250 mm
Flash mode : No flash 
Exposure program : Manual 
White balance : Auto

Now let’s talk about the photography of these two photos. The two photos you are seeing here, we have taken them both from the same place, but in the first photo we have shown half of the sun and in the second photo this sun is visible in less than half. This is the difference between these two pictures.


Camera maker : Canon
Camera model : Canon EOS 1300D
Lens : 55 – 250 mm
Shutter speed : 1/80 Sec. – 1/160Sec. 
Aperture F/5.6 
ISO : 100 – 400
Focal length : 200mm – 250 mm
Flash mode : No flash 
Exposure program : Manual 
White balance : Auto 

For such photography, I am telling you a few things about the manual program so that you will be useful in sunset photography as well as you will be able to use this mode in other types of photography as well.

About the settings of the manual program mode : 

In manual program mode, the three things you need to keep in mind the most are the shutter speed, aperture and ISO. In these three things, I am telling you the necessary settings, using which you can do any kind of photography anywhere.

  • The shutter speed that he uses to set the atmosphere and increase the shutter speed, then your photos will become black and dark and the speed of your camera’s photos will keep increasing. And if you reduce it, then you will have to take the photo by holding your camera in a complete way. When the speed is low, the speed of the camera to click photos becomes slow.

  • If you reduce the aperture, then it will keep your photos clean and if you increase it, it will darken your clicked photos. Whatever the aperture is, it helps you to do in photography. You can keep it on one of the settings, after which you can change the rest of the settings from the shutter speed, you can change the photography. Because of which you will not have to change the aperture again and again.
  • In the last, ISO, everyone must have known about it, it is the white balance of the camera, which is used to complete it. In this, when you increase the ISO, then you will increase the white and if you reduce it, then you will reduce the white. Because of which you have to set the ISO also once, after that you have to lower it slightly when you are clicking photos.
The above three settings work on each other, due to which you will have problems in the beginning but you will learn very quickly. This was the basic of manual program, for more information, in my next post, I will tell you about manual mode in detail. If you face any problem then you can ask me by email.

Wednesday, October 5, 2022

Sunset photography with trees and clouds

Sunset photography with tree and cloud

Everyone knows what a sunset is, and I have also told a lot about sunset, which you can read in the old post.

Today’s photography is done keeping in mind the trees and clouds. Whenever you go out to do such photography, the things that you should keep in mind and what will have to be done for such photography are mentioned below, by reading which you will be able to do such photography easily.

Talking a little about the photos, in the first photos, you can see that you can see a tree branch inside it and if you look from above, then you can see clouds in half. In taking out these photos, we have set the sun in such a way that it comes a little below the tree branch and clouds can come in the upper part. In taking such photos, you will have to take more care of the time.

For such photography, you should have a little bit of camera settings so that you can easily take such photography. The photography of sunset will be very promising for you in the manual program because you have to increase the shutter speed and decrease the ISO in its settings. Later, you have to increase the aperture a little, after which you will take photos according to the environment of that place, then you will know what you have to do for better photography than this. And if you want to do a different type of photography of sunset, then you can see in my next post, I have told a lot of simple things in it. So that you will have a lot of fun in photography.

Camera Maker : Canon
Camera model : Canon EOS 1300D
Lens : 55 – 250 mm
Shutter speed : 1 / 250 Sec.
Aperture : F / 18
ISO : 100
Focal length : 250mm
Flash mode : No flash 
Exposure program : Manual 
White balance : Manual 

On this, in the photo you are seeing above, you will see half of what the Sun is. If you look carefully at these photos, then you will see a tree branch from three sides. These are the photos and the rest of the photos, these three photos have been taken out in the same mode and its settings are also mentioned below the first picture I have.

If you see in the last picture of this, then half the sun is visible between the clouds in it. We have waited a long time to take out this picture which we have taken out, then we have got this picture. If you carefully go to Delhi, then in this picture you went to the first tree branch behind it, behind it is this cloud and behind it is the sun. You can see how long we had to wait. When it is the time of sunset, then you look at the sun, then you will know how early the sunset happens in the evening time. Because of which you will have to take utmost care of time for this type of photography.

Pinned Post

Mastering Mobile Sunset Photography: A Step-by-Step Guide and Pro Tips.

Changing colors of the sky: As the sun sets, the sky transforms into a mesmerizing display of colors, ranging from reds, oranges and pinks t...